I pulled this from the 92 Roadmaster Sedan refurbishment thread (https://gmlongroof.4umer.com/t13511p50-such-a-deal-garage-find-92-roadmaster-sedan#142849 ) .
I thought it might be helpful to have this searchable here on the forum, because I'm sure others may tackle this project. I plan on doing these on my wagon if I lose a cable again, rather than just going used....used will only last so long.
Hope it helps someone! I learned as I went!
9/25/17 - Evening project, replace the Power Antenna Cable.
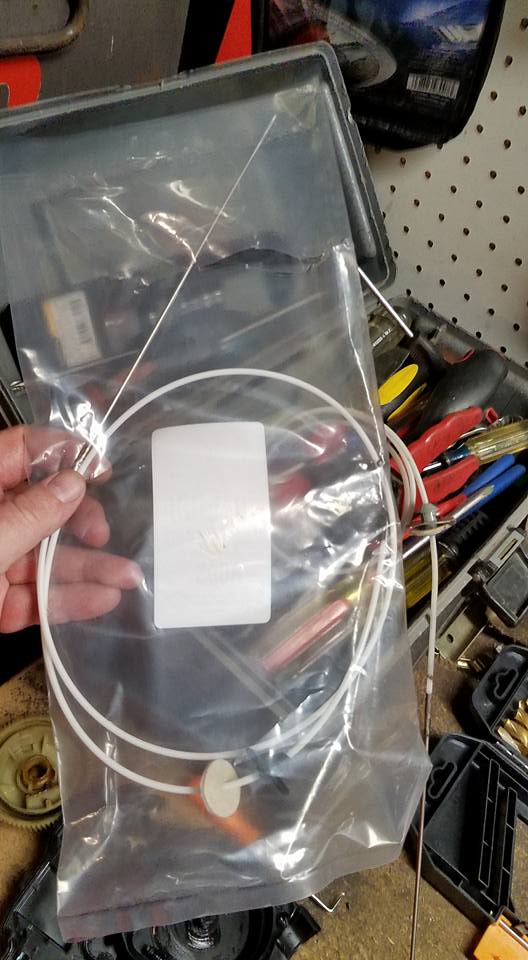
Replacement Antenna cable from TheAntennaSource.com

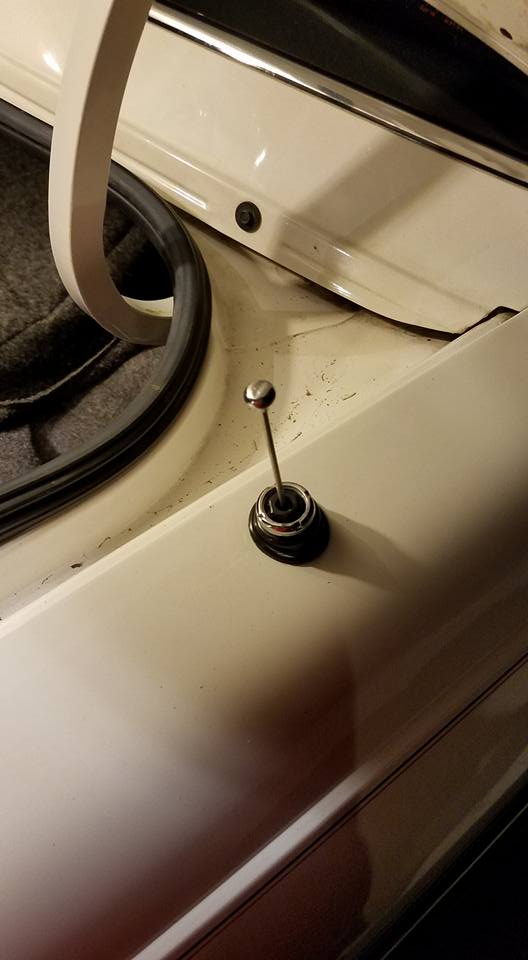
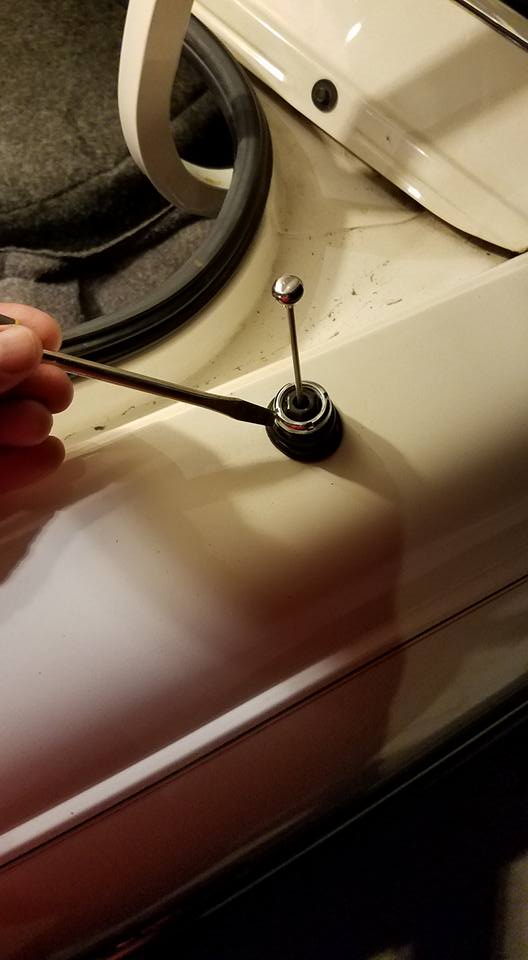
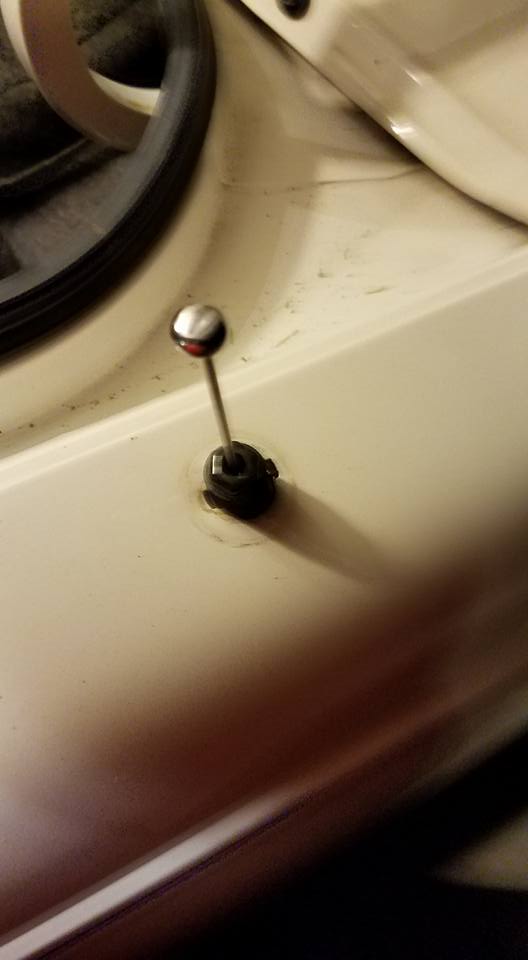
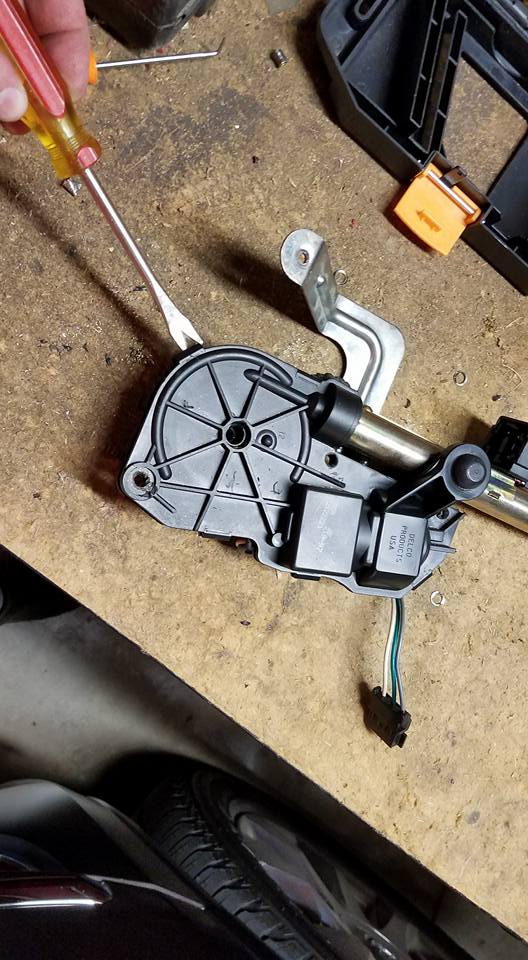
Was able to get broken antenna down this far to remove it. Used a flat-blade screwdriver and rubber mallet to tap the chrome retaining nut loose.
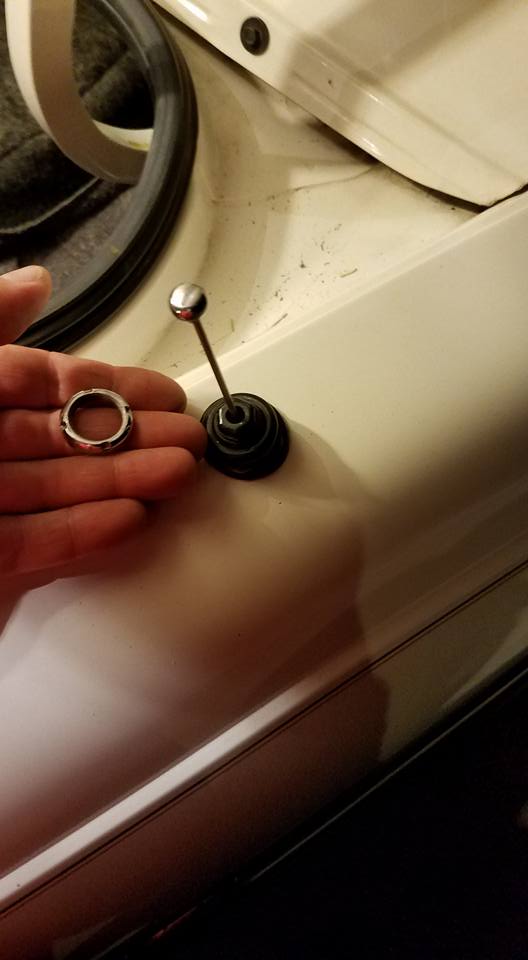
Now removed the black plastic angled trim bezel and washer.
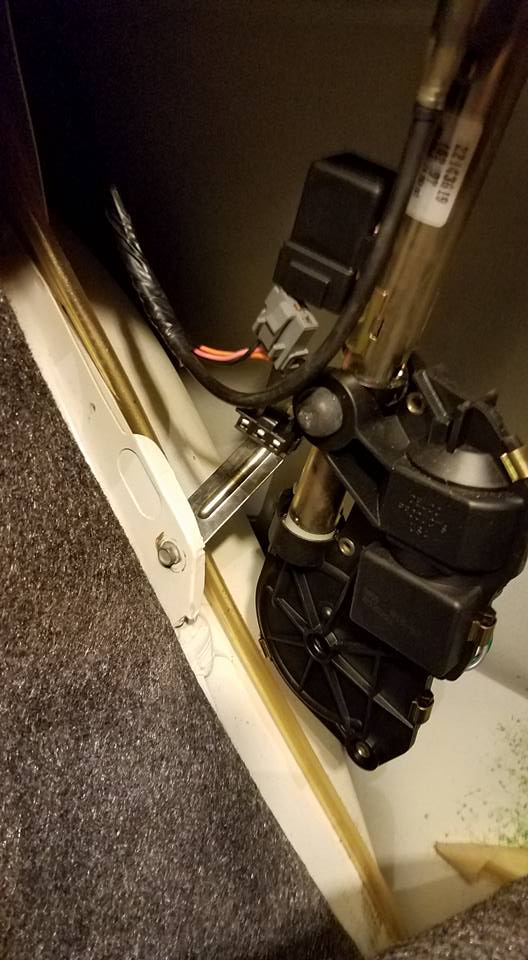
Next unplug the grey power plug and antenna cable, and finally remove the #10 bolt on the lower mount and carefully slide the antenna out...don't scratch the paint or bend the mast.
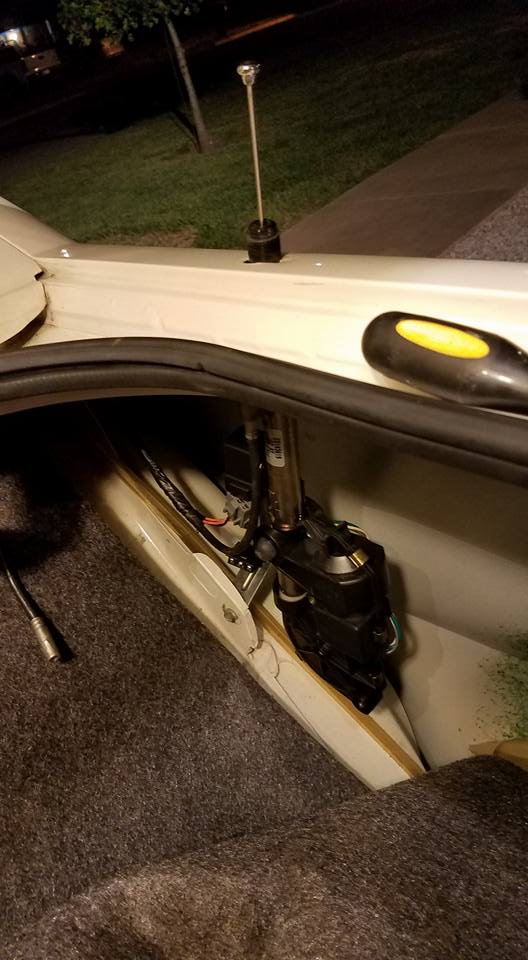
Remove #10 bolt here.
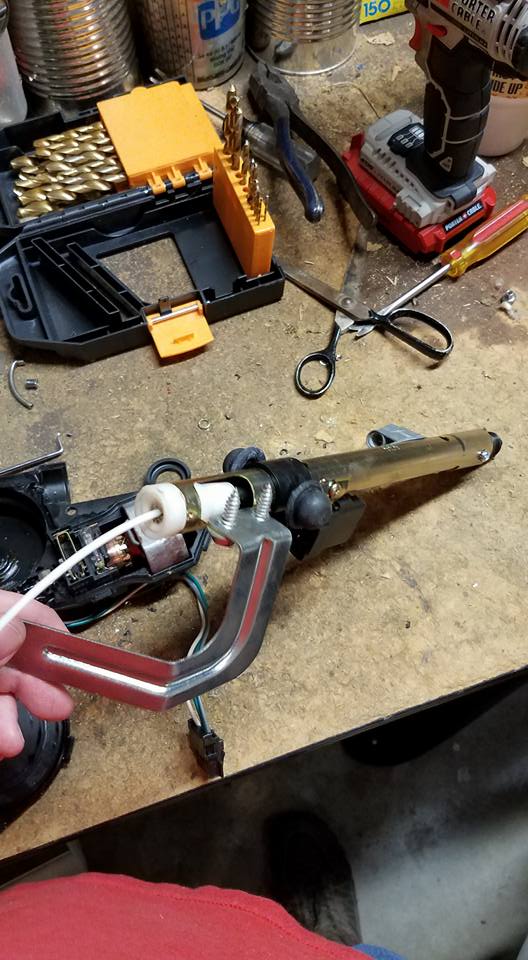
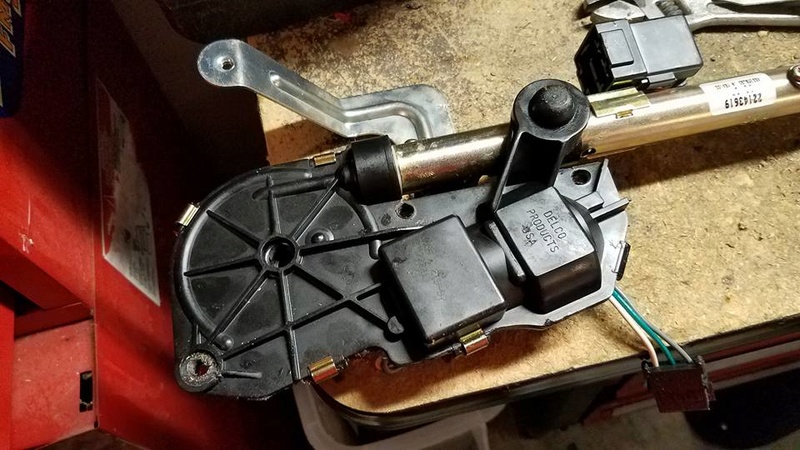
Antenna removed and ready for surgery.
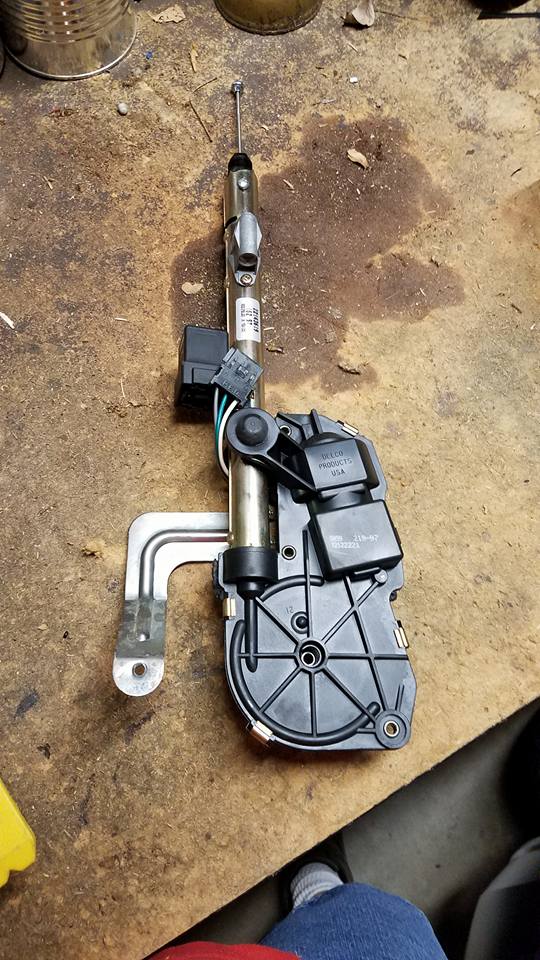
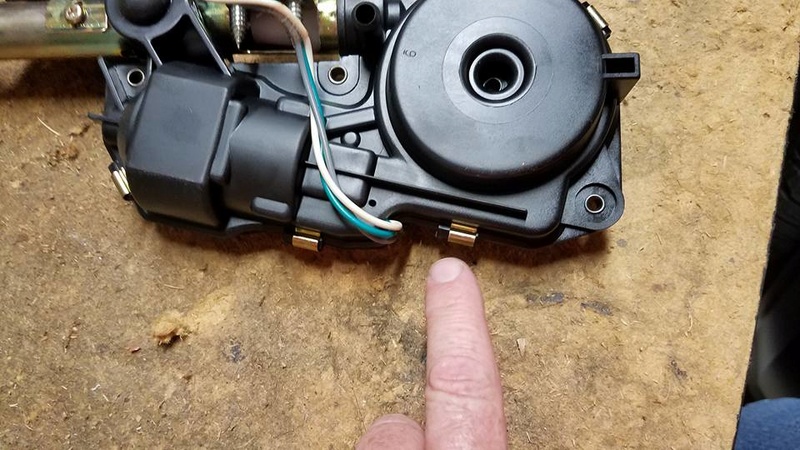
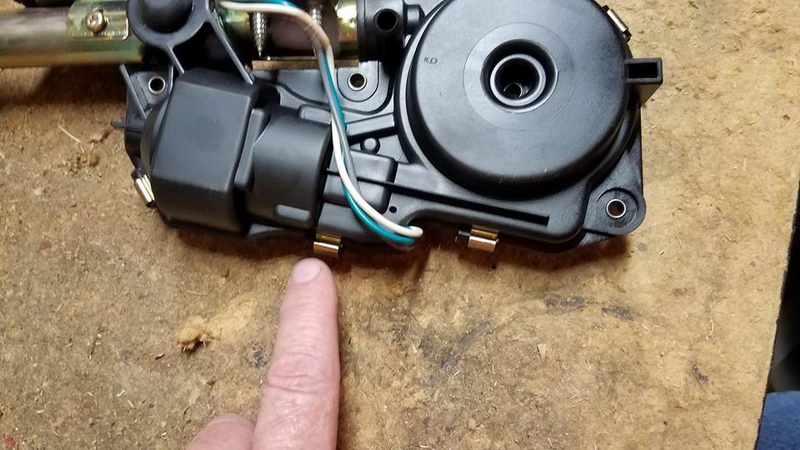
Carefully pry off the gold clips...these suckers will fly away into space if you are not careful!

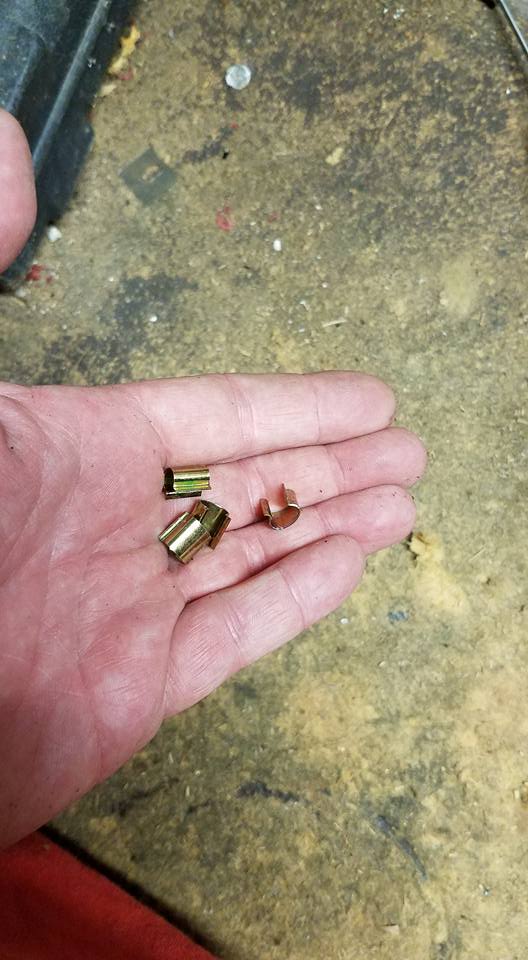
Gold clips removed
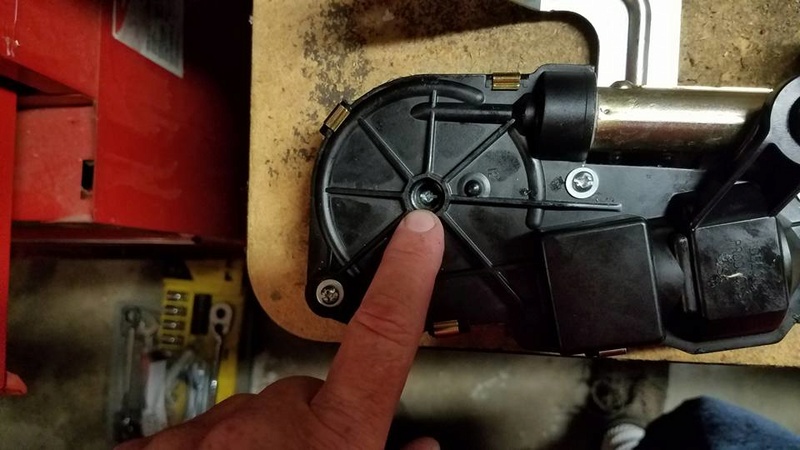
Now you need to carefully drill out the case rivets.
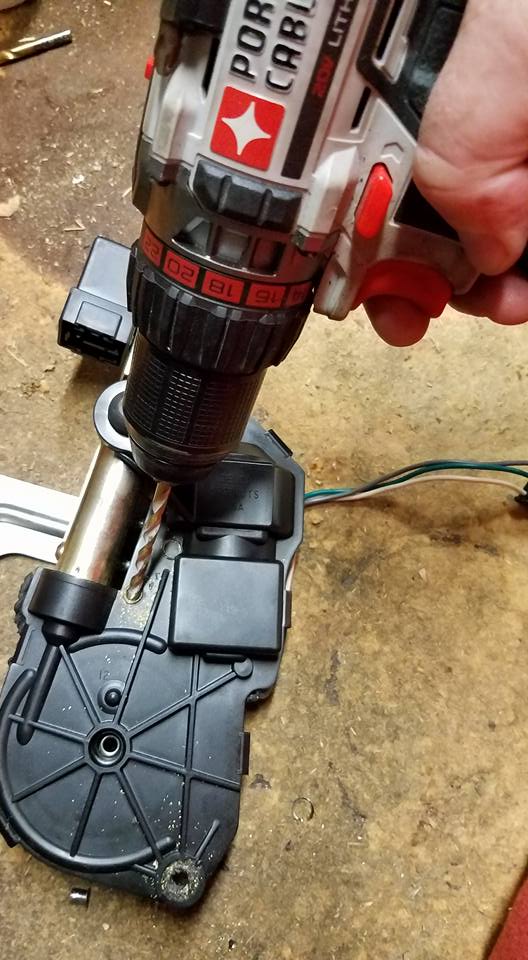
Stubborn rivets!
Now use vice-grips to hold the old upper mast and unscrew the button from the end.

Now carefully pry the case apart
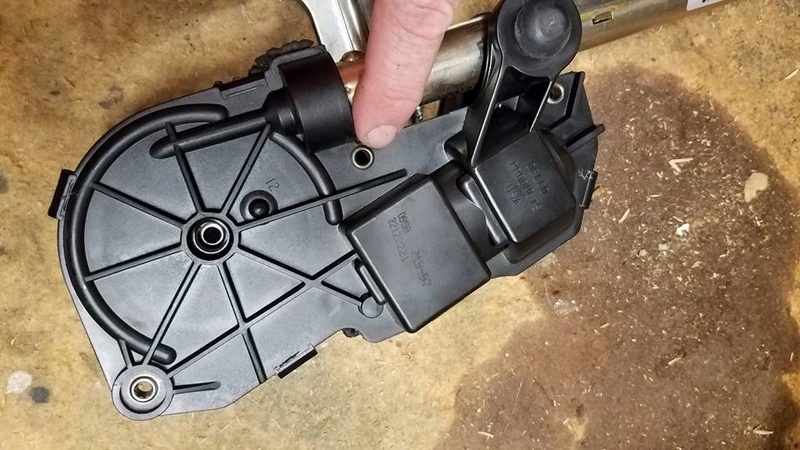
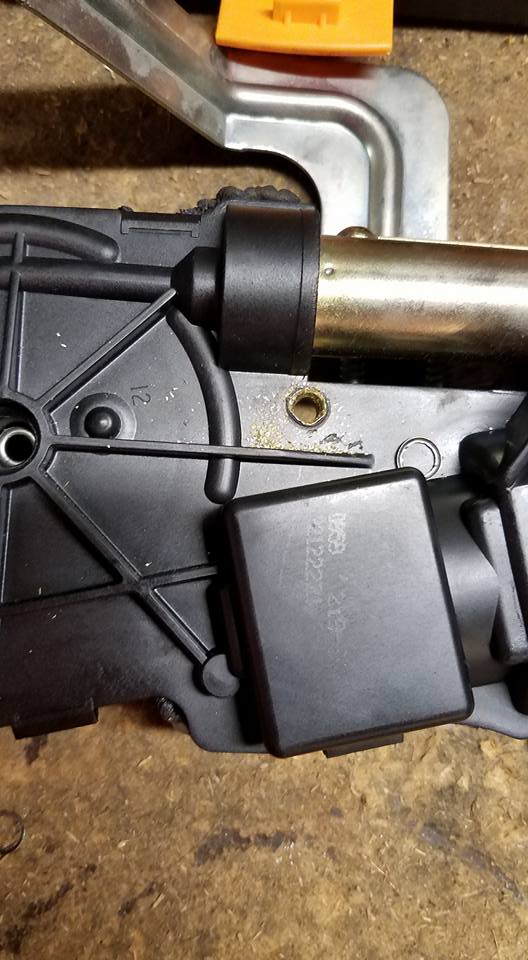
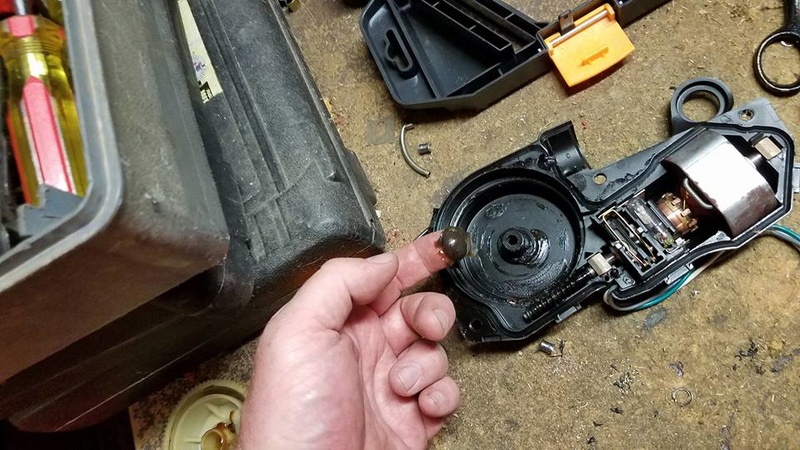
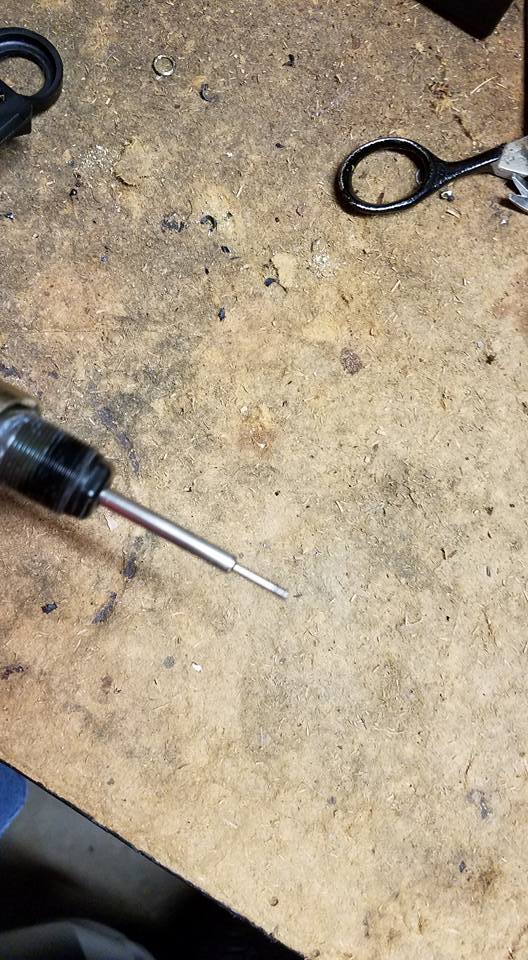
Case removed...where was this old cable broken??? Looked to be all there...but look closer...
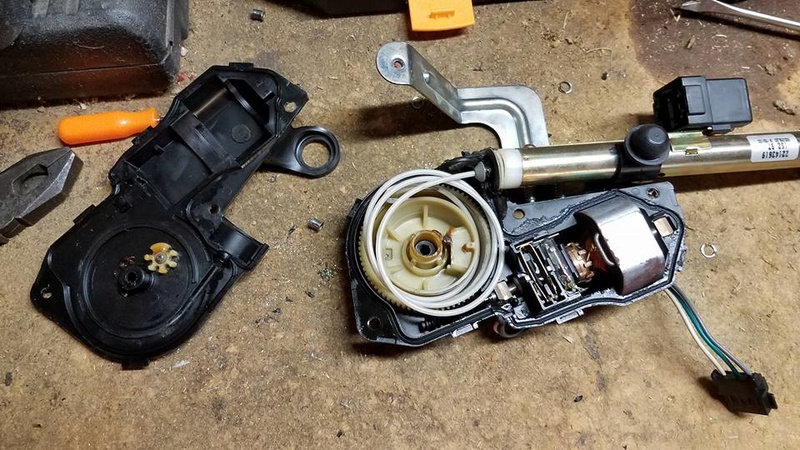
The old cable broke off at the very end, right where it fit into the metal "fish-hook".
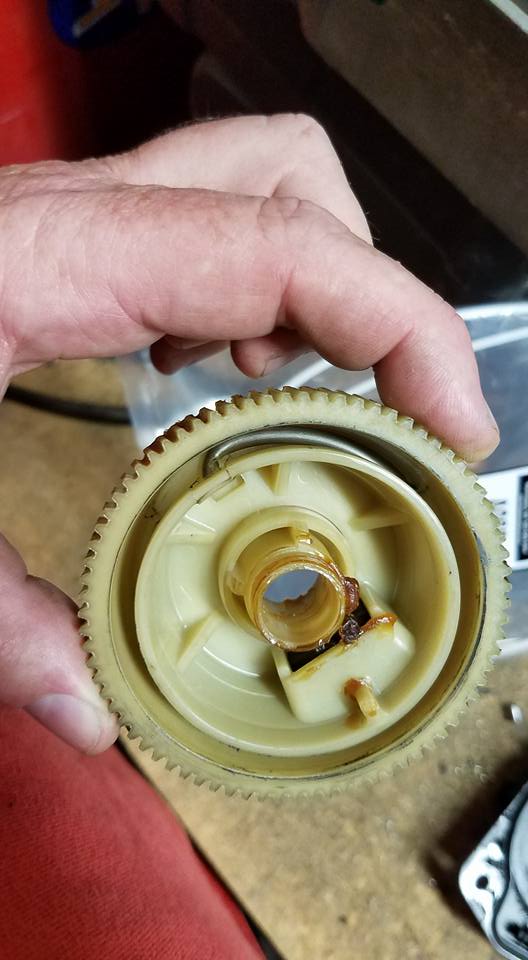
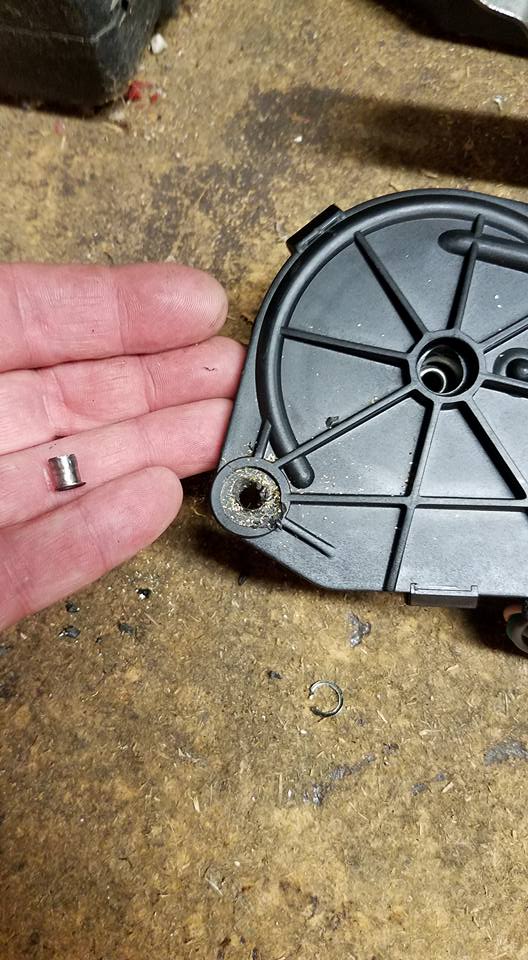
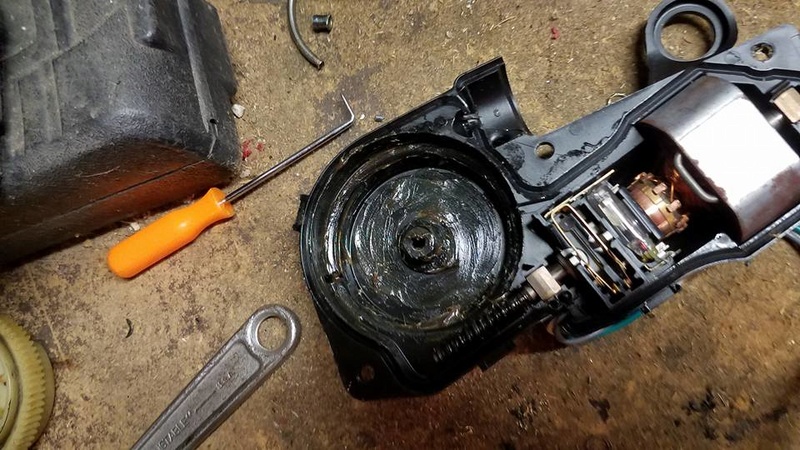
Mast tube removed and gear removed
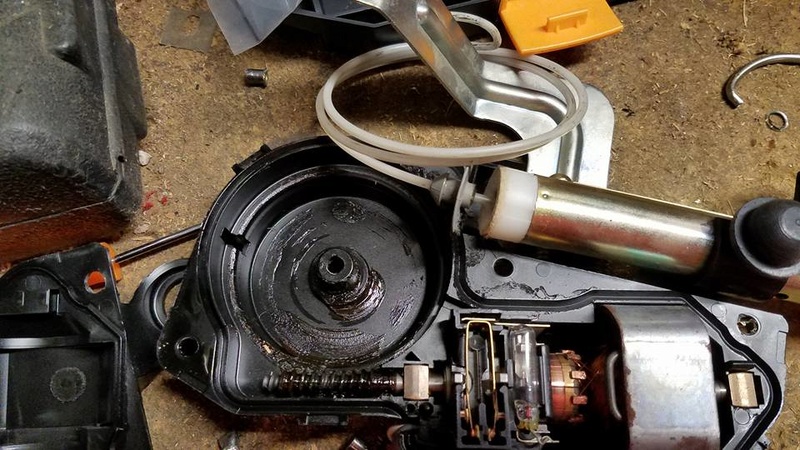
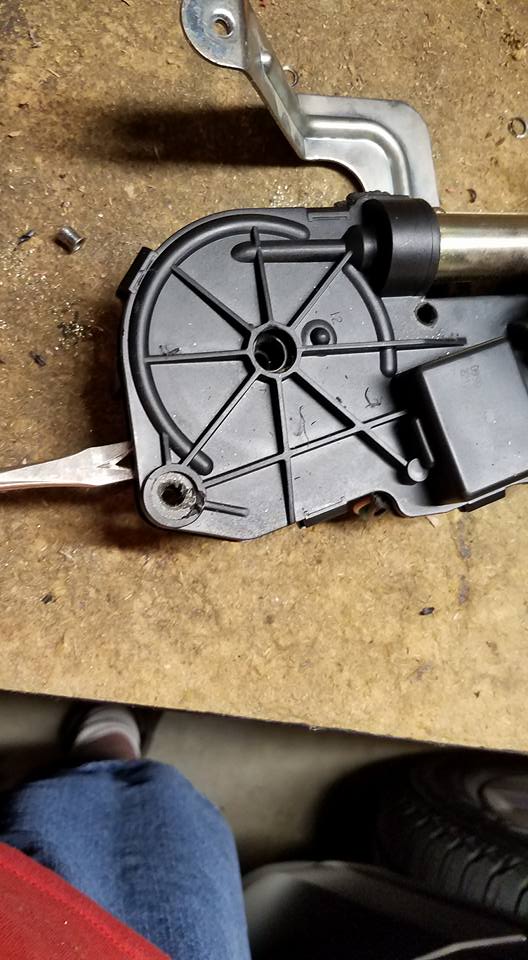
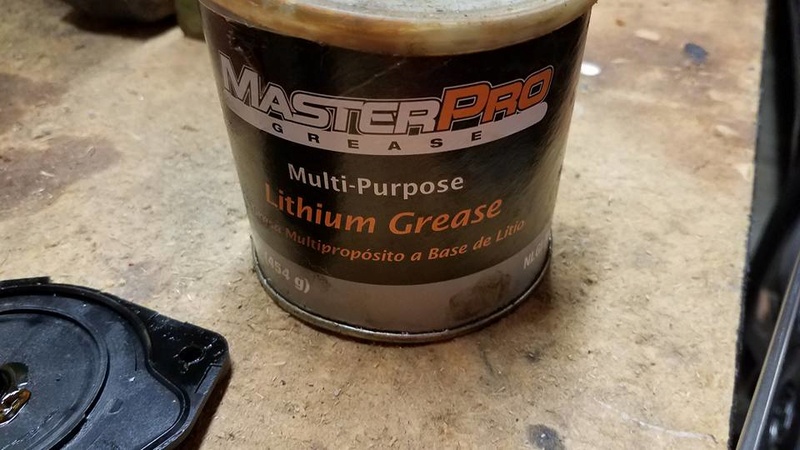
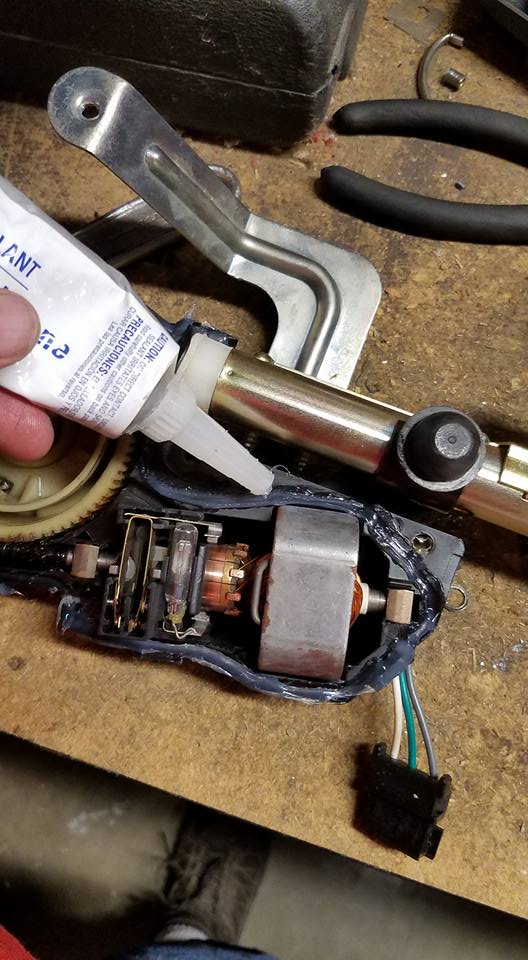
I added lithium grease to the case and gears/gear teeth. Not a lot...but a nice thin coat.
9/25/17 - Next I removed the new cable from the bag.
Threading the new cable through the mast tube
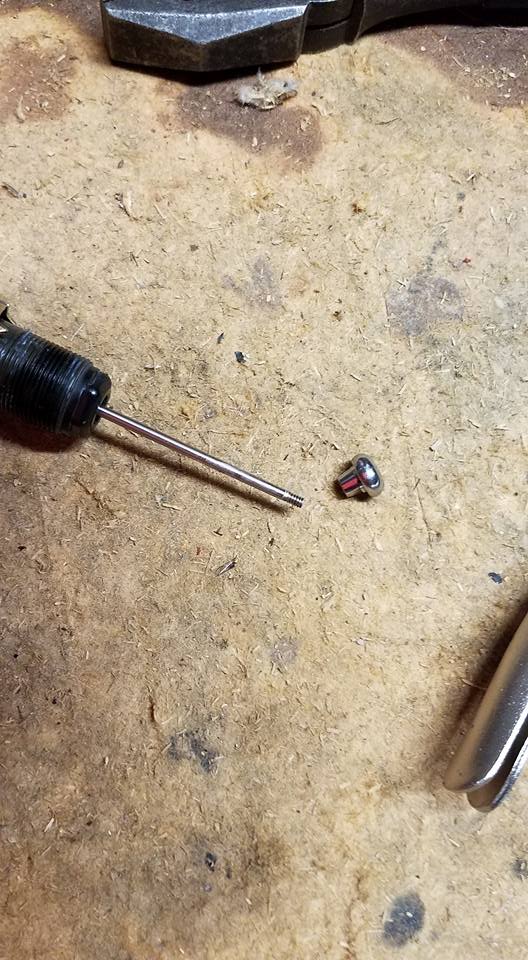
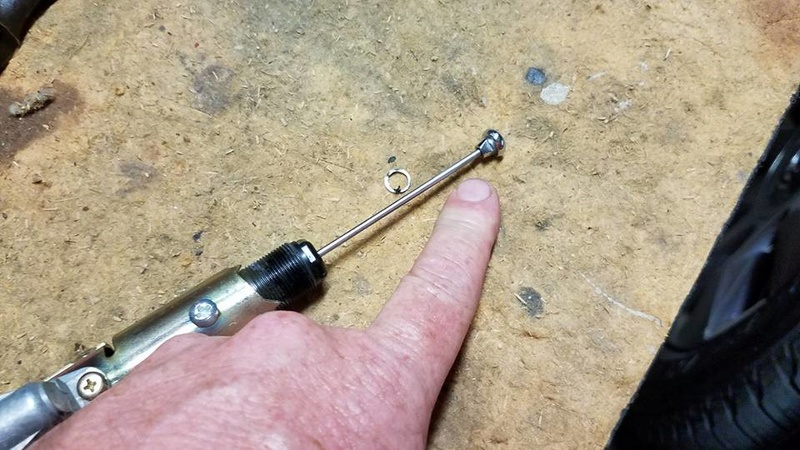
New metal end of cable through old mast, ready to re-install chrome button tip.
Chrome button tip screwed on new cable end.
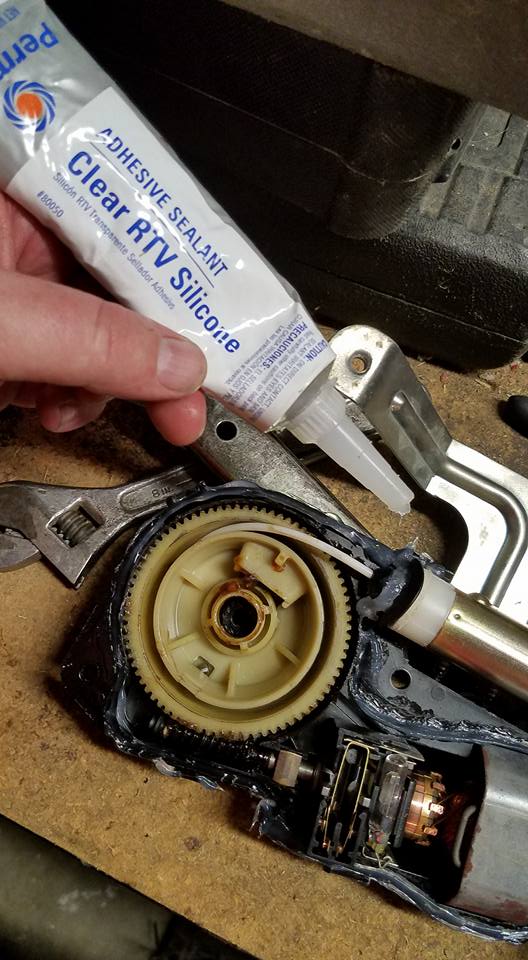
Next I extended the mast fully so only the end with the fish-hook was out, clipped the hook end into the white plastic gear spool, and carefully fitted back into the motor case. Then I added a thin bead of clear silicon to keep moisture out. There was silicon here when the case was opened, but it tore apart when the case was separated.
Case back together and clips installed. At this point I went back to the car and plugged the antenna in, and had Eddie turn the radio on to pull the antenna back into the case, and then to test that it would re-extend. Once you know it works, go back to the workbench with it.
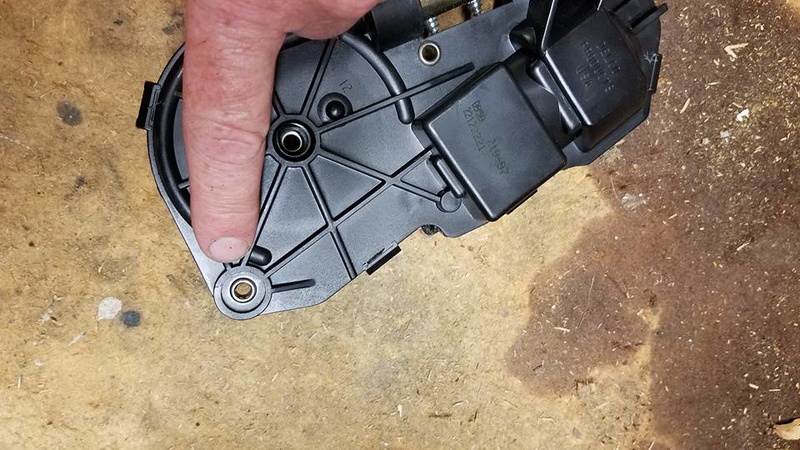
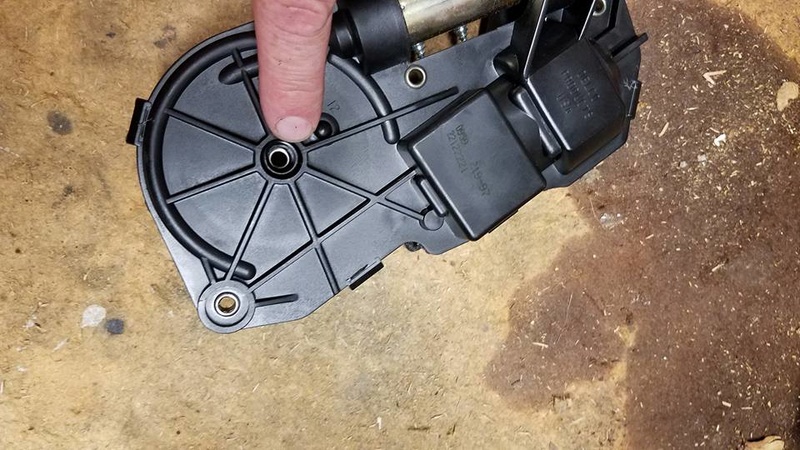
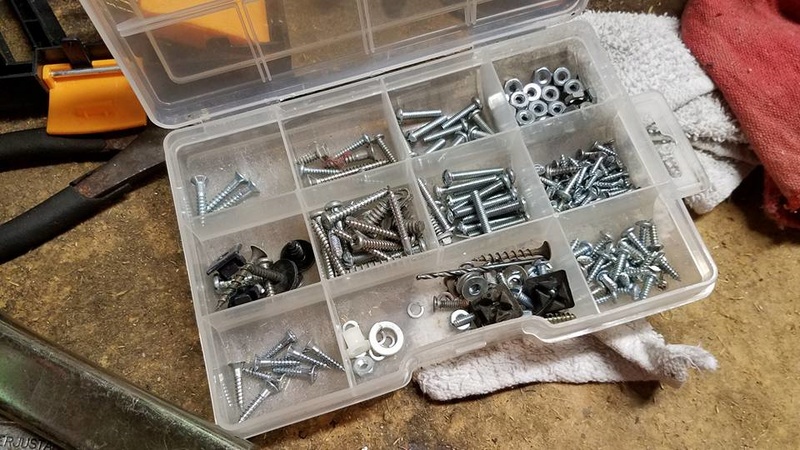
Found four screws, washers, and nuts to bolt the case back together where the rivets were drilled out earlier.
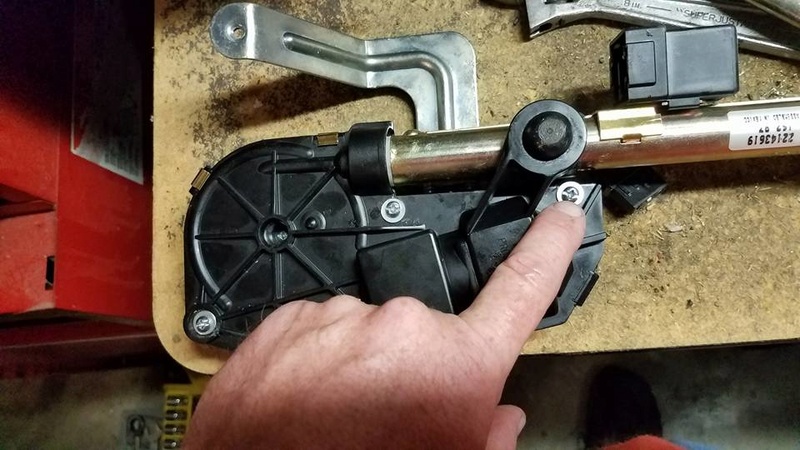

Case all screwed back together and antenna is ready to be re-installed on the car.
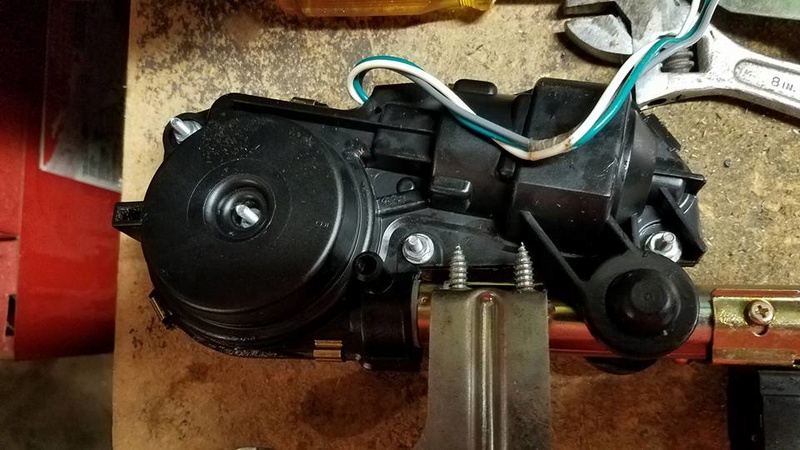
9/25/17, 11pm, repaired antenna re-installed.
Radio on, antenna going up...

...and up....
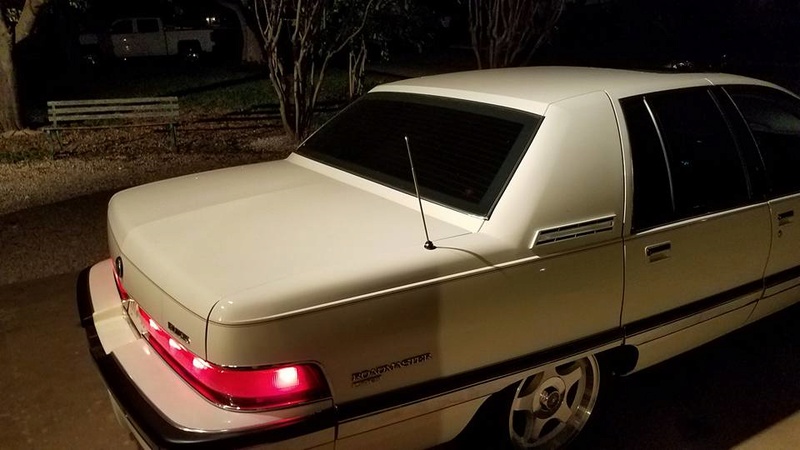
...and up...
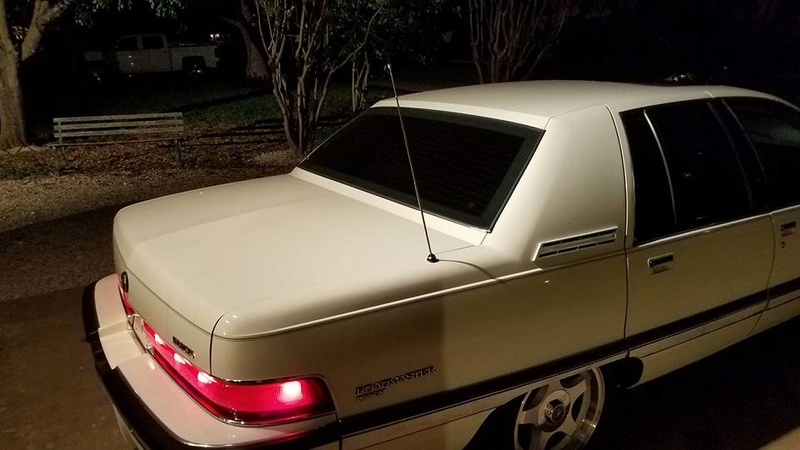
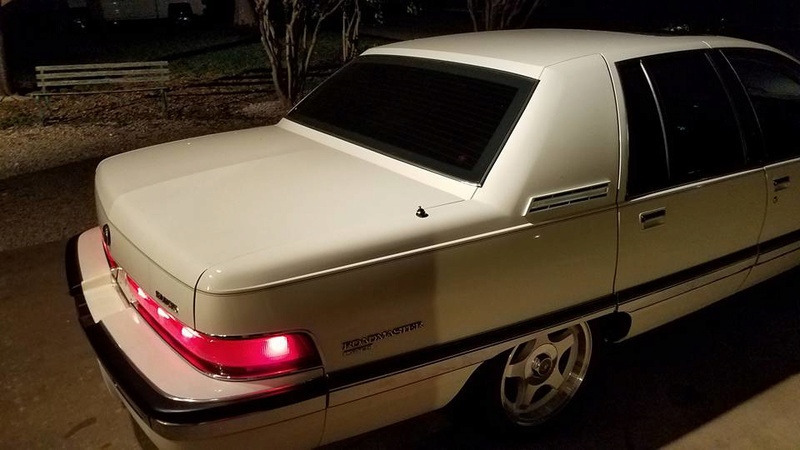
Radio on, antenna fully-extended and working like new again!

Facebook video if you want to see it "in action":
https://www.facebook.com/mike.massey.543/posts/10214278086696759Such Fun!
-Mike